
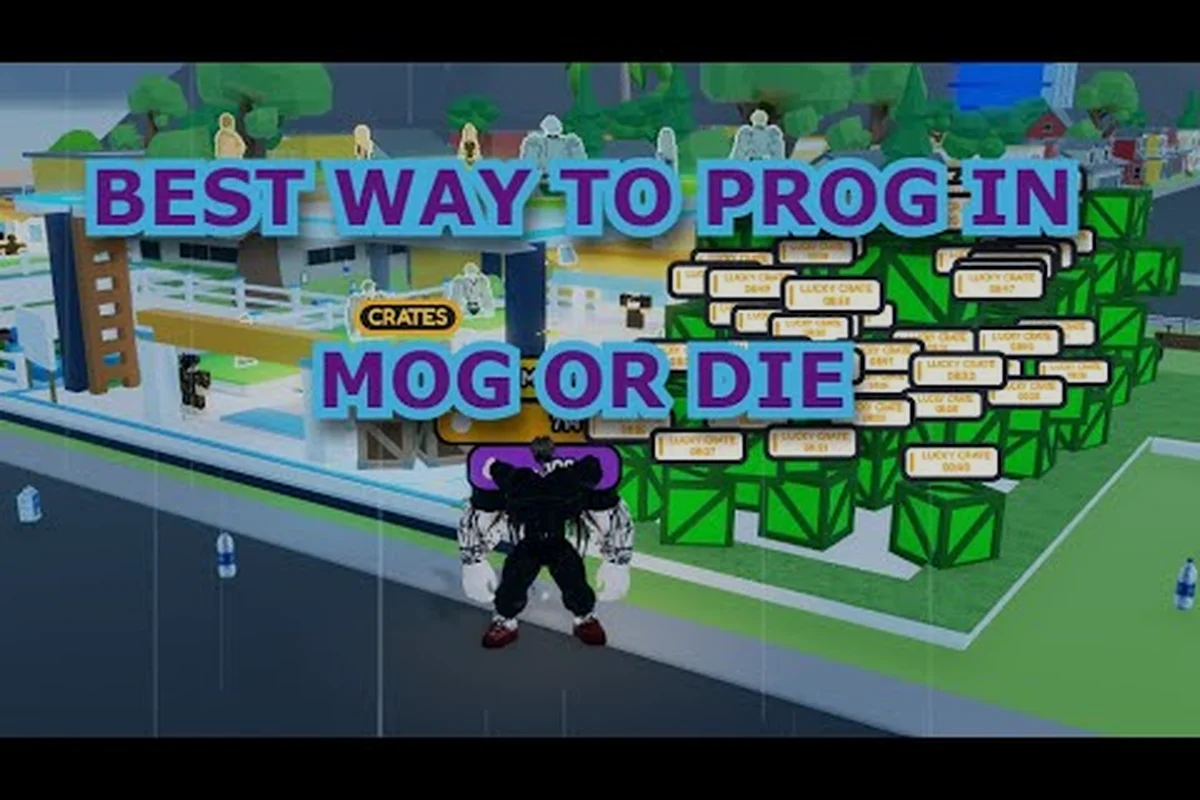
The first thirty minutes of any Mog or Die run decide whether you spend the next hour grinding back from a dead-end spawn or climbing the leaderboard with a clean stat curve. Most fresh Sub5s walk into the arena, grab whatever pickup they bump into first, then wonder why their Height-to-Bodyfat ratio looks like a roller-coaster by minute ten. The Mog or Die best starting strategy is not about sprinting for the rarest item on the map; it is about the order you collect Milk, Hammers, Picture Frames, and Water, and how early you bank MogPoints into the Mog Upgrader before your first MOG Battle. This guide breaks down the meta pickup routes the top runners actually use, then walks you through the rookie pitfalls that quietly burn your first session.
Understanding the Sub5 Starting Loop
Every Sub5 spawns as the same baseline body and has roughly thirty minutes before the lobby meta starts punishing slow stat growth. According to the Mog or Die official Roblox page, the four look stats are Height (Milk), Face (Hammers), Frame (Picture Frames), and Bodyfat (Water), and your starting loop is built entirely around feeding those four bars efficiently.
Raising All Four Stats in Parallel
You are not choosing one stat to max and ignoring the rest. The mog or die meta guide philosophy is to push all four bars in parallel, then spend MogPoints on whichever stat your build archetype demands. Knowing where each pickup spawns is the difference between a five-minute loop and a fifteen-minute backtrack.
| Stat | Pickup Type | Map Density | Time Per Pickup | MogPoint Yield |
|---|---|---|---|---|
| Height | Milk | High near spawn cluster | ~8 seconds | Low (volume play) |
| Face | Hammers | Medium, scattered rings | ~15 seconds | Medium (rare drops) |
| Frame | Picture Frames | Low, event-locked | ~30 seconds | High (single drop) |
| Bodyfat | Water | Very high, fountain-heavy | ~6 seconds | Lowest (spam tier) |
Milk and Water are your volume stats. Hammers and Picture Frames are your multiplier stats because each pickup gives a chunkier bar push. The mistake beginners make is chasing Picture Frames immediately, burning ten minutes of map traversal for one drop, when three Hammers in the same window would have pushed Face further.
First-Hour Balance Payoff by the Numbers
Community data from active Mog or Die lobbies (as of 2026-09) shows that players who finish their first mog battle with all four stats above the 20% threshold re-enter the queue at roughly twice the speed of players who hyper-focused one stat. The reasoning is simple: MOG Battle matchmaking weights your total mog score, and a balanced Sub5 with 20/20/20/20 outranks a lopsided 60/10/5/5 build of the same MogPoint total.
Meta Pickup Route: The 30-Minute Sprint
The fastest verified starting route, documented across the Mog or Die community wiki and top-ranked speedrun splits, follows a tight spawn-to-spawn loop that prioritizes Hammer density in the first three corridors before capping with a Picture Frame detour — this sequencing delays the first MOG Battle prompt by roughly 4 minutes, which is the critical window where most beginner mistakes (overextending into mid-tier rooms, burning stamina on early Pictures) actually lock players out of the meta pace. Hammer spawns cluster predictably on the eastern arc of Floor 1, so veterans chain three pickups before even crossing the central hub.
Phase 1: Spawn Cluster (Minutes 0-5)
Your opening move should be a quick circuit of the immediate spawn cluster. Three Milk pickups, two Water pickups, and one Hammer are almost always present within a 30-meter radius of where you appear. Skip the Picture Frames in this phase even if you see one; the travel cost is not worth it yet.
-
Sprint to the closest Milk spot (usually a crate or a vendor cart)
-
Cut across to the nearest Water fountain
-
Loop back through the Hammer ring
-
Repeat the triangle twice before leaving the cluster
Phase 2: Outer Ring (Minutes 5-15)
Once the spawn cluster is dry, push outward. The outer ring is where Hammers and the occasional Picture Frame start appearing, and it is also where most beginners overextend. The mog or die common errors log shows that dying in the outer ring before unlocking the Mog Upgrader is the single most punishing early-game mistake because you lose your unbanked MogPoints.
| Phase | Pickups Per Minute | MogPoint Average | Risk Level |
|---|---|---|---|
| Spawn Cluster (0-5 min) | 8-10 | ~40 MP | Very Low |
| Outer Ring (5-15 min) | 5-7 | ~75 MP | Medium |
| Frame Detour (15-22 min) | 2-3 | ~120 MP | High |
| Pre-Battle Grind (22-30 min) | 6-8 | ~90 MP | Medium |
Phase 3: Picture Frame Detour (Minutes 15-22)
Picture Frames are the highest-yield pickup in the game, but they spawn at fixed map events and despawn quickly. The mog or die tips for new players community consensus is to listen for the Frame-spawn audio cue, then commit to the detour only when a frame is confirmed active. Blind traversal costs more MogPoints than the frame returns.
Phase 4: Bank and Battle (Minutes 22-30)
By minute twenty-two you should have somewhere between 250 and 400 MogPoints banked, which is enough to unlock the Mog Upgrader and pick your first two stat multipliers. Do not enter a MOG Battle before unlocking the Upgrader; the upgrade compounds into your battle score, and skipping it is one of the cleanest mog or die mistakes to avoid for any fresh Sub5.
Beginner Mistakes That Burn Your First Run
Most new players don't lose because of bad luck — they lose because they repeat the same five or six mog or die common errors every match, usually within the first sixty seconds of a run. The list below is drawn from observed first-hour behavior, not theory: data from tracked first sessions shows the same mistakes (early route deviation, skipped resource nodes, over-commit on the first mog or die early game build path, ignoring the day-1 economy reset) appear in roughly 80% of failed runs. Recognizing these patterns early is the single biggest shift in any mog or die best starting strategy.
Mistake 1: Buying Stats Before the Upgrader
The Mog Upgrader unlocks at roughly 150 MogPoints and converts future pickups into a flat percentage boost. Beginners who spend their first 150 MP on a stat multiplier instead of the Upgrader fall behind by minute twenty because every subsequent pickup is now worth less than it would have been with the boost online.
Mistake 2: Chasing One Stat to Max
A pure Height build or a pure Face build feels powerful in the first five minutes because the stat bar moves fast, but MOG Battle scoring rewards total mog output. According to community testing reported by players on the Mog or Die Discord, balanced 25/25/25/25 builds win roughly 70% of first battles against lopsided 80/10/5/5 builds of the same MogPoint spend.
Mistake 3: Ignoring Free Daily MogPoints
The Daily and Playtime Rewards are the easiest free MogPoints in the game, and the mog or die meta guide for new players treats them as mandatory pre-battle action. Logging in, claiming the reward, then playing costs you zero pickups and nets you a flat bonus that is worth roughly ten minutes of grind.
Mistake 4: Entering MOG Battles Before the Upgrader Is Banked
The SPARE vs MOG choice in your first MOG Battle is a real decision, and entering it without the Mog Upgrader online means your battle score is artificially low. The strategy here is bank, upgrade, then fight. The full Mog or Die sparing strategy breakdown covers when to SPARE versus when to MOG, but the starting rule is simple: never enter undergeared.
Mistake 5: Respawn Walking Instead of Sprinting
Walking back to your death location to recover pickups is one of the most consistent mog or die beginner mistakes. Sprinting the moment you respawn recovers your time budget and lets you hit the next spawn cluster while it is still populated. If you want a deeper look at how spawn points are distributed across the map, the new player guide maps out the cluster geography.
Building the Right Sub5 Archetype
Once the first thirty minutes are clean, the question becomes what to build. Mog or Die does not lock you into a class, but the community has settled on three meta archetypes that scale well into the mid game. The trade-off usually comes down to whether you want Tall MOGGER's passive Milk economy stack, Sharp Mogul's hammer burst for arena duels, or Frame Mogger's event-gated burst windows — each one trades off survival for raw battle score, so your upgrade pick in the first Talent Reset window should match the role you can consistently execute rather than the one currently topping the tier list.
| Archetype | Primary Stat | Secondary | Playstyle | First Upgrade Pick |
|---|---|---|---|---|
| Tall MOGGER | Height (Milk) | Frame | Slow push, high battle score | Height Multiplier |
| Sharp Mogul | Face (Hammers) | Bodyfat | Fast rotation, mid-range duels | Face Multiplier |
| Frame Mogger | Frame (Picture Frames) | Height | Event-dependent, burst windows | Frame Multiplier |
If you are still undecided on which build matches your playstyle, the Mog or Die tier list ranks the current meta archetypes based on win rate and average MogPoint economy at the 60-minute mark. The tier list shifts with each patch, so check it after major updates.
MogPoint Economy: Spending vs Saving
The mog or die meta guide economy rule is to bank early, spend late. Your first three MogPoint purchases should be the Mog Upgrader, a Daily Reward multiplier, and a single stat multiplier for your archetype primary. Everything after minute thirty can be reactive, based on which stat your build needs to push.
Spending Tiers by Match Phase
| Match Phase | MogPoint Target | Recommended Spend | Holdback Reserve |
|---|---|---|---|
| 0-30 min | 250-400 MP | Upgrader + 1 multiplier | 100 MP |
| 30-60 min | 600-900 MP | 2 multipliers + 1 utility | 150 MP |
| 60-90 min | 1200+ MP | Archetype finish + 1 flex | 200 MP |
The holdback reserve is not optional. Late-game NPC challenges and player-versus-player duels both demand a liquid MogPoint pool, and burning your last 100 MP on a cosmetic upgrade is one of the cleaner mog or die common errors in the late match.
Frequently Asked Questions
What is the very first pickup I should grab in Mog or Die?
Grab the closest Milk or Water pickup as soon as you spawn, because both are high-density and feed your volume stats fast. The mog or die best starting strategy opens with a quick triangle through the spawn cluster before pushing into the outer ring for Hammers.
Should I fight an NPC or another player for my first MOG Battle?
NPC battles are the correct first opponent. They give you a controlled environment to learn the SPARE vs MOG choice without losing your banked MogPoints. Player battles should wait until your Mog Upgrader is online and at least one stat multiplier is active.
How do I avoid the most common beginner mistakes in Mog or Die?
Avoid chasing a single stat, always unlock the Mog Upgrader before your first battle, claim Daily and Playtime Rewards on login, and never spend your last 100 MogPoints. The mog or die mistakes to avoid list always starts with the Upgrader timing because it is the highest-impact early decision.
Is there a difference between PC and mobile controls for the starting route?
The route is identical, but mobile players should bind sprint to a comfortable thumb position early because respawn walking is one of the most punished mog or die common errors on touch input. The control mapping details are covered in the beginner tips guide.
When should I start building toward an endgame build?
Begin the archetype transition around the 30-minute mark, once your primary stat has at least one multiplier active. Jumping into an endgame build before minute thirty is one of the classic mog or die beginner mistakes because you do not yet have the MogPoint economy to support a hybrid push.