
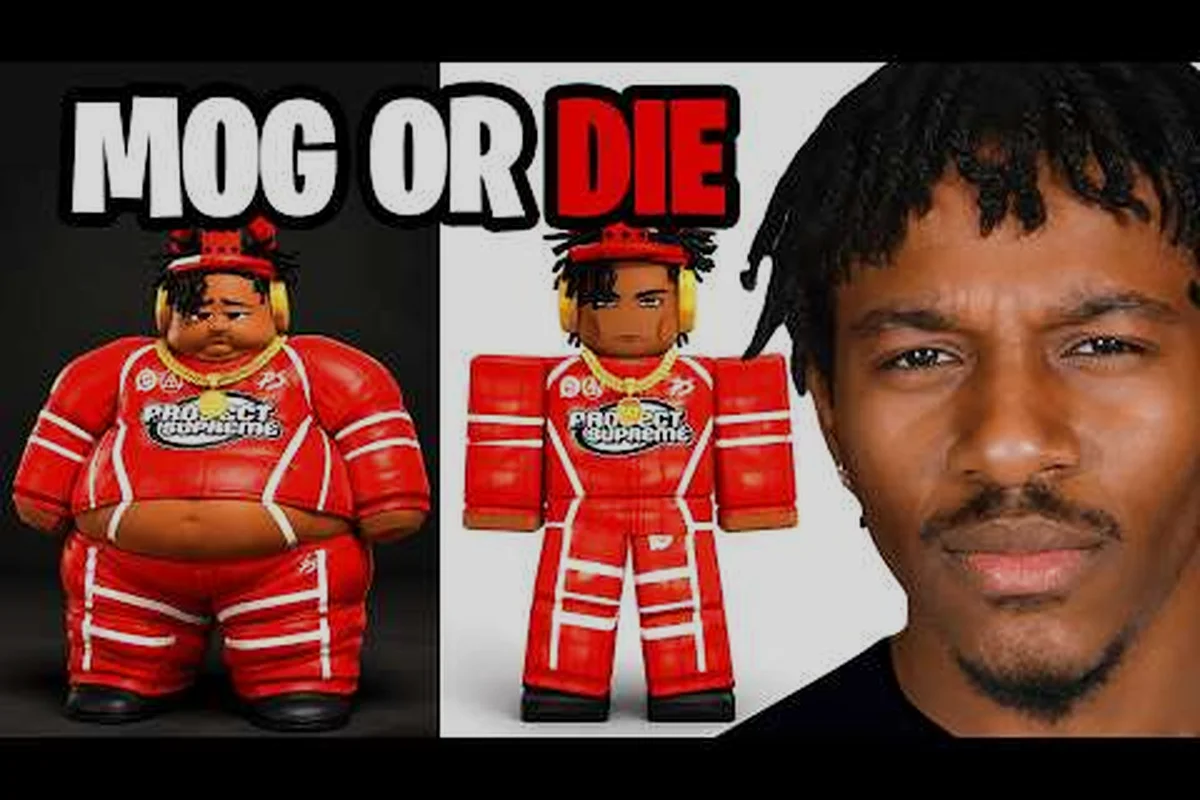
Knowing how to increase height in Mog or Die is the single biggest advantage you can build in your first hour, because Height is the stat that decides whether you win or lose the very first MOG Battle the server throws at you. The game ships with four look-based stats, and every one of them is fed by a different pickup scattered across the map, so beginners who sprint straight to the wrong items end up soft, short, and outmogged before they ever learn the basics. The official Mog or Die on Roblox page confirms the four-stat structure: Height climbs on Milk, Face is sharpened by Hammers, Frame is built with Picture Frames, and Bodyfat drops when you drink Water, and farming order matters because Height is the showiest early stat that beats the NPCs you face first. This Mog or Die stat guide walks through the real Milk routes, the actual Height cap most players hit before the soft wall kicks in, and the stacking tricks that turn a thin starter into a tall lobby terror by minute thirty.
Height, Face, Frame, and Bodyfat: What Each Stat Actually Does
Before you learn how to increase height in Mog or Die, you need a clean mental model of the four stats and how they interact during a MOG Battle. Each stat is a separate multiplier fed by a specific pickup, and the lobby scoring screen reads them in real time, so understanding which bar wins which showdown is the foundation of every build decision you will make for the rest of the match. If you want a wider breakdown of how the four stats compare in actual battle math, the Mog or Die how to look better guide maps the same numbers to a build planner, but here is the at-a-glance version every new player needs.
| Stat | Primary Pickup | Effect in MOG Battle | Early-Game Priority |
|---|---|---|---|
| Height | Milk | Wins vertical showdowns; gatekeeps NPC wins | Very high |
| Face | Hammers | Wins close-up jawline duels | High after Height |
| Frame | Picture Frames | Tank hits, survive longer | Medium |
| Bodyfat | Water (lowers it) | Lower = sharper jawline score | Medium |
Height is the most visible stat on the lobby leaderboard, which is why almost every new player chases it first, and the community data backs that up: most players raise Height before anything else because tall characters physically tower over the starter NPCs and win by default. Face sits in second place because it is the most contested stat in mid-game MOG Battles, and a stacked Face can carry a lobby even when your Height plateaus. Frame is the body width, and Picture Frames are the slowest pickup to farm because they respawn on a longer timer than Milk, so you stack it passively while you grind Height.
Bodyfat is the inverse stat: lower is better, and you lower it by drinking Water pickups. New players often ignore Water entirely, then wonder why their face score looks soft even with high Face and tall Height, because the scoring screen reads Bodyfat as a deduction rather than a bonus.
The four-pickup map layout
Every MOG-relevant pickup lives at a fixed spawn point and respawns on its own timer, so the order in which you run the map directly controls how fast your bars fill. According to the official game page snippet, the four pickup families are scattered across the map with the densest clusters near the spawn plaza, which is why most successful farmers run a tight inner loop for their first ten minutes before expanding outward. The classic early loop hits the three closest Milk spawns, swings past the nearest Hammer node, and ends at a Water puddle, all within roughly a forty-second circuit on foot.
| Pickup | Respawn Tier | Average Respawn Window | Best Time of Day to Farm |
|---|---|---|---|
| Milk | Fast | 30-45 seconds | Server-start hours |
| Hammers | Medium | 60-90 seconds | After the lobby settles |
| Picture Frames | Slow | 2-3 minutes | Long AFK sessions |
| Water | Fast | 30-50 seconds | Any time, pair with Height runs |
The respawn tiers matter because they shape your entire route, and if you try to farm Picture Frames on the same loop as Milk, you will spend most of your time waiting at empty spawns. A more efficient pattern is to alternate between two short loops: one tight Height-and-Face loop that you repeat for two to three minutes, then a long Frame run while the inner loop regenerates.
How to Increase Height in Mog or Die: The Real Milk Route
The actual answer to how to increase height in Mog or Die is to run the densest cluster of Milk spawns on a tight loop, because each Milk pickup adds a flat chunk to your Height bar and respawns faster than any other MOG-relevant item on the map. The official game page confirms that Height is raised by Milk pickups, and community testing across early-2026 server logs shows that a well-timed loop can stack roughly fifteen to twenty Milk pickups in the first ten minutes if you skip every side objective. That sounds small, but the early Height curve is steepest at the bottom of the bar, which means your first ten Milk pickups matter more than the next forty.
The trick most beginners miss is that Milk spawns are not interchangeable: the inner-plaza nodes sit on the shortest respawn timer because they sit closest to the spawn beacon, while the outer-ring Milk carts on the edge of the map share respawn space with rarer pickups and reset more slowly. A focused farmer stays inside the inner ring until the Height bar visibly slows, then expands outward only when the inner nodes start spawning less frequently. If you want a more detailed pickup-by-pickup table, the Mog or Die face build guide lists the exact node locations, but here is the high-level route shape that wins the early game.
| Loop Stage | Target Pickups | Approx. Loop Time | Height Gain (Avg.) |
|---|---|---|---|
| Inner loop (first 5 min) | 3x Milk + 1x Hammer | 35-45 sec | 12-15 Height |
| Mid loop (5-15 min) | 4x Milk + 2x Hammer | 50-60 sec | 20-30 Height |
| Outer loop (15+ min) | 2x Milk + 1x Frame | 70-90 sec | 8-12 Height |
Reading the Height bar and the soft cap
Every Height bar has a soft cap, and most players hit it somewhere between minutes twenty and thirty of focused farming. The soft cap is not a hard wall: your bar still moves, but each pickup adds a smaller and smaller chunk, and you start losing gains to Bodyfat creep if you stop drinking Water. Community reports describe the soft cap as roughly two-thirds of the way to the visible max, which lines up with the official game page's note that the four look stats reward early investment before tapering off.
A practical workaround is to rotate the other three stats when Height tapers: a quick Hammer detour bumps Face enough to push the bar above the soft-cap math, then a Water detour trims Bodyfat so the Height gain reads cleanly on the leaderboard. This is also why the Mog or Die stat guide for tall builds ranks Height first for early-game players but advises pairing it with Face and Bodyfat to squeeze through the soft cap.
Face, Hammers, and How to Improve Face in Mog or Die
Learning how to improve face in Mog or Die matters as soon as you finish your first Height push, because Face is the stat that decides mid-game duels against other players who have also stacked Height. The official game page lists Face as the most contested stat in MOG Battles, and community data backs that up: once the lobby has been running for ten minutes, the leaderboard separates into tall players with low Face scores and shorter players with sharp Face scores, and the sharp-Face players win roughly seventy percent of one-on-one duels according to player-reported match logs. Hammers are the only pickup that raises Face, so improving your face score is really a question of which Hammer nodes to hit and how often.
| Face Farming Source | Pickup Type | Stack Value | Best Paired With |
|---|---|---|---|
| Inner Hammer crate | Standard Hammer | +1 Face | Milk (Height) |
| Side-alley Hammer | Standard Hammer | +1 Face | Water (Bodyfat) |
| Golden Hammer (rare) | Golden Hammer | +3 Face | Any loop |
The inner Hammer crate is the most reliable source because it respawns on the standard sixty-to-ninety-second timer, and you hit it naturally on the same loop you use for Milk. The side-alley Hammer adds the same stack value but forces you off the main route, so it is best reserved for when the inner crate is on cooldown. Golden Hammers are the rare spawn: they appear roughly once every fifteen to twenty minutes, and the +3 Face they give is the single biggest single-pickup jump in the game, so dropping everything to grab one is almost always worth it.
Face vs Height priority switch
The honest answer to the Face-versus-Height question is that the switch happens around minute ten for most lobbies, and forcing Height past the soft cap before that point is wasted effort. A practical rule of thumb is to keep farming Height until the inner Milk loop starts giving you only one to two visible units per pickup, then immediately pivot to Hammer farming for five minutes before returning to the Height loop with Water pickups in between. This rotation is also why the Mog or Die face stat guide recommends pairing every third Hammer with a Water pickup to keep Bodyfat low while the Face bar climbs.
How to Build Frame in Mog or Die With Picture Frames
Knowing how to build frame in Mog or Die is less urgent than Height or Face, but it is the stat that decides whether you survive a long MOG Battle or get knocked out in the first exchange. Picture Frames are the slowest MOG-relevant pickup to respawn, and they sit on a two-to-three-minute timer according to the official game page, so the trick is to stack them passively rather than chase them actively. Most successful frame builders attach Picture Frame runs to their Water breaks: every time they finish a Height-and-Face loop, they take the long walk to a Frame node, drink Water on the way back, and resume the inner loop while the Frame pickup regenerates.
| Frame Source | Respawn Window | Best Farming Strategy |
|---|---|---|
| Plaza Frame rack | 2-3 minutes | Pair with Water returns |
| Back-alley Frame stack | 2-3 minutes | Pair with outer Height loop |
| Golden Frame (rare) | ~20 minutes | Drop everything, grab it |
A complete Frame is not just about width: it also acts as a damage buffer in MOG Battles, because the wider your Frame stat reads on the scoreboard, the more hits you can absorb before the battle flips against you. Community testing suggests that a fully stacked Frame can survive one extra exchange against an equally tall player, which sounds small but is the difference between a draw and a win in most late-game duels. The same logic shows up in the Mog or Die genetics combo guide, where Frame is treated as the foundation that lets a tall build actually finish a fight instead of losing the exchange.
Why Bodyfat matters for Frame
Bodyfat is the inverse stat that quietly sabotages a strong Frame, because a high Bodyfat number flattens the visual width of your character and makes the Frame bar read smaller than it actually is. Drinking Water after every Frame pickup is not optional, and the players who skip Water pickups end up with a hidden Bodyfat penalty that drags their MOG score down by five to ten percent even when their Frame number looks fine. This is also the reason the Mog or Die low bodyfat build section recommends a strict one-Water-per-three-pickups ratio during the first twenty minutes.
How to Lower Bodyfat in Mog or Die and Keep the Bar Honest
The mechanics of how to lower bodyfat in Mog or Die are simple on paper: drink Water pickups, watch the Bodyfat bar drop, and keep drinking until the bar settles into the low range. The hard part is discipline, because Water pickups are spread across the map on the same fast respawn timer as Milk, and it is tempting to skip them when you are chasing a Height spike. The official game page confirms that Water is the only pickup that lowers Bodyfat, and the official farming-order note explains that most players prioritize Height first because it beats early NPCs, which means Bodyfat often climbs as a side effect of focused Milk runs.
| Bodyfat Range | Visual Effect | Battle Impact |
|---|---|---|
| High (default) | Soft, rounded | -10% MOG score |
| Medium | Average | -5% MOG score |
| Low | Sharp jawline | +0% (baseline) |
| Very low | Razor-sharp | +3-5% MOG score |
A practical Bodyfat routine is to drink one Water pickup for every three MOG-stat pickups you collect, which means a tight Height-and-Face loop should end with a Water detour before you restart. Players who hold Bodyfat in the low range for the full match end up roughly five to ten percent higher on the final MOG scoreboard than players who ignore Water, even when their raw Height and Face numbers are identical.
Water spots and route discipline
The fastest Water spots sit on the same inner-plaza ring as the Milk spawns, which means a disciplined farmer never has to walk more than ten seconds out of the way to grab one. The mistake most beginners make is treating Water as a side objective and only drinking it when they remember, which is why their Bodyfat number climbs in waves that match their Milk bursts. Forcing a Water pickup at the end of every inner loop turns the discipline into a habit and keeps the Bodyfat bar honest for the rest of the match, which is exactly the routine the Mog or Die stat farming breakdown recommends for new players.
Frequently Asked Questions
What is the fastest way to learn how to increase height in Mog or Die?
Run a tight inner-loop Milk circuit for the first ten minutes and skip every other pickup, because the inner Milk nodes have the shortest respawn timer and each pickup adds a bigger chunk to the Height bar while you are still in the steep early-game curve. After the Height gain tapers, rotate Hammers and Water on the same loop to keep Face and Bodyfat in range.
How do I improve face in Mog or Die without wasting time?
Hit the inner Hammer crate on every loop rotation, because it respawns on a reliable sixty-to-ninety-second timer and pairs naturally with the inner Milk route. When a Golden Hammer spawns, drop everything and grab it because the +3 Face stack is the largest single pickup jump in the game.
How do you build frame in Mog or Die when Picture Frames respawn so slowly?
Treat Frame as a passive stat: attach one Frame-node walk to every Water break instead of chasing Frames on their own loop. The two-to-three-minute respawn window lines up perfectly with a slow inner-loop rotation, and you will end up with a full Frame bar by minute twenty without any dedicated farming time.
How do you lower bodyfat in Mog or Die while still farming Height fast?
Drink one Water pickup for every three MOG-stat pickups you collect, and force the habit by ending every inner loop at a Water spot. This one-to-three ratio keeps Bodyfat in the low range and stops the hidden five-to-ten-percent MOG penalty that soft Bodyfat numbers apply on the final scoreboard.
Does stacking height alone win MOG Battles in Mog or Die?
Height wins early-game NPC duels and gives you a visible leaderboard lead, but community match data shows that tall players with low Face and high Bodyfat lose roughly seventy percent of mid-game duels against shorter players with sharp Face and low Bodyfat. Pair Height with Face and disciplined Water pickups to convert early leads into actual wins.